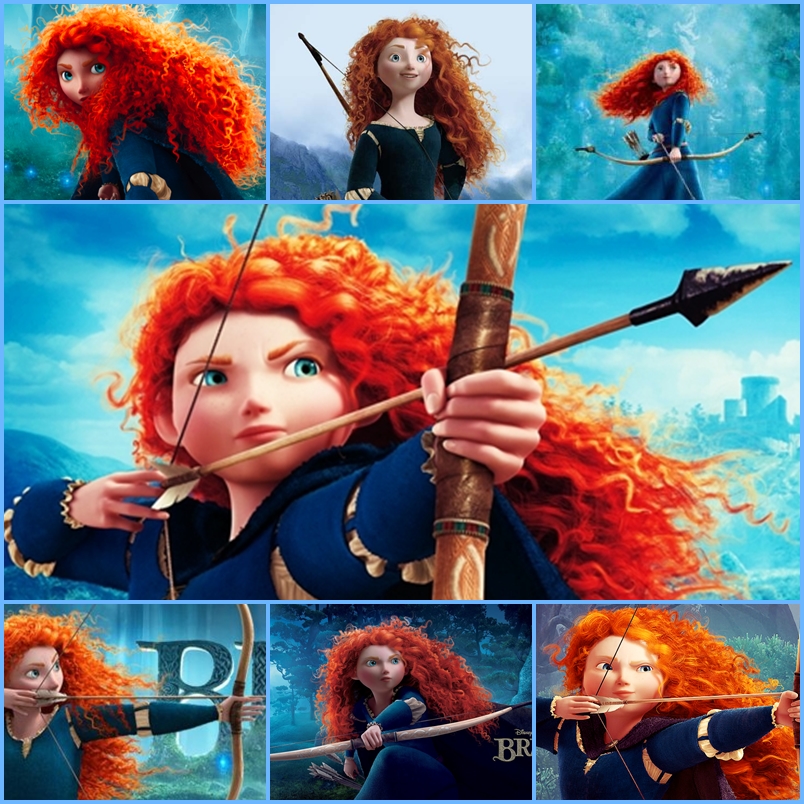
My daughter's friend looks just like Merida from Disney's Brave, and this year she decided to go out as the Scottish princess for Halloween. I'd like to acknowledge a huge debt to Angela Clayton for her tutorial. I always search the web to see if anyone's already invented the wheel, then make my own choices while making the project. Here's the costume I made, and how I modified it.
First, because this is a costume, I used costume quality crushed velvet panné from Joann's fabric. If it were to have a lot of use, I would get something a bit sturdier. I chose the dark blue because honestly, even though a lot of versions are dark green, the movie looked dark blue.
I measured our Merida with the assistance of my fantastic pattern-drafting daughter, Susannah. We did a complete dress measure of her:
| wrist (around) | bust around | waist around |
| shoulder to wrist | underbust around | hips around |
| elbow to wrist | chest around | waist to hip |
| shoulder to shoulder | neck around | waist to ankle |
| back neckbone to hip | upper arm around | collarbone to hips |
| back neckbone to waist | collar bone to waist | armpit to hips |
I didn't bother with leg measurements, because, you know, it's a dress. While it's not for everyone, because I knew I'd have to divide a lot of things into fourths, I used metric.
Next I cut up an old sheet to make a "muslin" or trial run. I often just go to Salvation Army and get a 99¢ sheet, though this time I happened to have one. Pros: you adjust the fitting. Cons: the actual material I was using was stretch, but I figured it was a good way to start.
So using the measurements, I worked off a fold with a sharpie and a long straight-edge. Neckbone to hip, neckbone to waist, waist up to collarbone, hips up to armpit. Waist to floor (plus a bunch, because that can be dealt with later). Then from the fold, I worked out: at the armpit level: bust divided by 4. At the waist level: waist divided by 4. At the hip level: hip divided by four. Then I kind of winged it on the shape of the neck and armpit using a shirt. I gave everything about a half inch seam allowance and sewed it. I only used a muslin for the main body, because the sleeves are actually kind of clever and different. I also cut godets that measured from hip to floor. I only cut two, because I was running out of sheet.
This has never happened before, but when I tried it on our Merida, it was perfect in all important respects. I did give her armpits a little more room.

Because it fit so well, I was kind of wistful at having to rip it apart to be the pattern for the costume, but oh well.

I assembled the dress with the proper amount of godets (four). The little white "v" at the front is just an appliqué, which makes life a lot easier. I had a huge amount of fun with my new serger making ruffles. Unfortunately, ruffling takes away the stretch of the material, but tons of fun anyway. To make the ruffles, I sewed the white lycra into a tube first, then ran it through the ruffle settings on the serger. I also cut a strip of the panné to bind the collar and sleeve edges. This was a tactical error on the sleeve edges. I should've made the sleeves like you normally do, then appliquéd the binding. I'll know for next time. The unintended consequence of the beautiful ruffles is that it tended to pull the collar binding with it and turn the top of the dress inside out, so I made a decision I had been flirting with and was glad I did: I found a lightweight long-sleeved white shirt at Salvation Army for $1. It was delicately waffle-weaved, which would help keep Merida warm at night in October in the Northeast, and would line the dress, tame the ruffle, and ultimately, help with the sleeves.

With the shirt basted in, we did another fitting. I had to trim the collar of the shirt, then hand sewed it into the collar so it didn't show, but covered the base of the ruffles.

Now the sleeves. Because the panné is thin and stretchy, for the little straps that appear to attach the sleeve to the shoulder of the dress, and the forearm to the upper arm, I sewed half-inch-wide tubes, then ran binding through the tube and sewed down the center. I did it on the regular sewing machine with a twin needle, because I have four for some reason, and like the way the stitch comes out. Then I cut the tube into 8 three-inch pieces. Because I had short pieces of panné to work with, I had to do a second tube, and realized I had run out of binding. I ran a shoelace through the second tube. Then I kept the two sets of 8 separate so that I could use them symmetrically: the binding version at the shoulder, the shoelace version at the elbow. That's probably overkill, but seemed orderly.
I measured out the sleeves using the arm measurements and a general top-of-the-sleevy shape. I did a quick pinning and it all looked good. Then I did what I understood from Angela's website above and cut two inches off the top of the sleeve, and the center of the sleeve. This is because instead of trying to replicate the medieval snazzy dress where there would be an underdress with pouffy sleeves and a kirtle on top with two-part sleeves attached with straps where you'd pinch the pouffy underdress sleeves to come through at the shoulder and elbow, all we need is for this dress to look like that. I'd done this dodge before with a Queen Susan dress from The Chronicles of Narnia. If I can find the photos, I'll post that at some point.
I didn't bother shaping the white sleeve inset material, I just used rectangles. I ruffled some white lycra (not in a tube this time).

Another unintended consequence: I wanted to finish and sew the sleeves at the same time, but when you use the cutter on previously ruffled fabric, the ruffling falls apart. I knew that already, because I only have to make the same mistake three or four times before learning something, so I ran the ruffled white through the normal sewing machine on baste to hold onto the ruffles. Even with this extra step, the ruffling through the server is so incredibly fast that the whole process was maybe five minutes for each piece (two for each sleeve) versus the ordinary long stitch > pull the thread to ruffle > normal way. Then I assembled the sleeves and basted them onto the dress. I didn't attach the little straps.

This fitting did not go as well. The sleeves were ridiculously short, with the elbow bend happening a couple inches up the upper arm. Back to the drawing board. There was no rescuing the parts of the sleeve, so I started over. This time I cut the two panné sleeve shapes and did not trim them down to accommodate the ruffles. I attached the white to the top, cut across at the elbow and inset the white ruffles there. Now the sleeves fit for real.
 |
 |
Besides, if they're a little long, you can adjust by shortening the little sleeve straps. I attached the sleeves to the dress (again, tricky because I had bound the sleeve openings). I also hand-anchored the dress sleeves to the lining shirt.
You might notice I omitted the little ruffles that appear at the bottom of the sleeves. That's because I had an epiphany. Serging thermal cotton stretches and distorts the material into a lettuce edge. There's probably more I can learn about my serger to counteract this, but here I wanted it. Using the cutter, I serged the cuffs of the lining shirt. Now, between the lettuce edge and the close-fitting stretchy sleeve at the wrist, white ruffles would appear when she wore the dress.
I was getting tired, but had decided to finish this costume the weekend before Halloween, when I had the time and brain space. so even though it was really awkward to get it into the machine, I used the buttonhole/appliqué stitch on my sewing machine to attach the little straps. It was pretty forgiving. However, the ones that had a core of shoelace turned out to have bright white sticking out at the ends in a noticeably ugly way. Thanks Sharpie™!

I am the first one to admit that I am a really janky hemmer. It's always the last step, and I'm already mentally done with the project. I measured the hem, I serged it (and damn it, it distorted again). I folded it up and ran it through the sewing machine on a shallow zigzag stitch. It would work for a while, then the panné would get caught in the needle plate, and I pretty much fought with it for an hour and a half before declaring victory enough. Nearly there, need the elbow straps.

But the final costume was beautiful (she's wearing an extra shirt underneath for warmth). I'm really happy with it. We forgot to bring the bow and arrows to take photos, but at some point we might take a few more.
 |  |
Really happy with how it came out.
Oh, hey, and PS: you can keep bobbin threads in a mint box. This changes my life.

No comments:
Post a Comment