
Release the Kraken
We've ended up with a bunch of very nice conference totes for some reason. I love them, but we have more than we need, and I decided I wanted to reuse them creatively. If you don't have any, grocery stores have nice ones for about a dollar. In fact, Hannaford has lovely ones, because they run a design contest for them. I wanted waterproof, but you can use those weird fabric ones too, keeping in mind that they'll eventually get wet from something.
Next step, I looked for diy panniers on the web of the wide world, thinking it would be like so many things I look for, and there would be an embarrassment of riches of projects to take my pick from. What I found online ranged from an actual embarrassment (kitty litter buckets, which is just too janky for me) to tons of projects that start with an assumption that you already have a very nice messenger bag, or should go shopping for one.
The ones that use a nice bag had some helpful bits of information that I used. You need something to stiffen the bag, and suggestions were plywood or plexiglass or coroplast boards like election yard signs. Other suggestions were hooks to hook it onto the rack, little nuts and bolts to attach everything securely, and something like a u-bolt to hold a little bungee cord to stabilize the bag on the rack so it doesn't fly off.
So I gave it all a good think. I didn't want hooks on a tote bag that I might end up carrying because I didn't want it hooking on my clothes. I didn't want the bag open to rain at the top, although I liked the option of toting it off the bike. I didn't want to bother with plywood, which seemed heavy and vulnerable to damp; or plexiglass which is really pricey. I didn't want my stuff in the bag to catch on bolts on the inside of the bag, and I had no idea where you get coroplast, but no way did I want to buy it, because this project is meant to be cheap-cheap-cheap, and mostly recycled. So I contacted the county recycling people. They suggested I ask around where I work, first of all, then if that didn't work, contact local political party offices. As it turned out, there were a bunch of outdated signs in the closet at work, hooray!

Directions for one bag
I already owned:
1 reusable grocery bag
2 little zip ties
I recycled a coroplast yard sign from work
I went to the hardware store and got:
3 @ #8 eyebolts, that were unfortunately 1.25 inches long and I had to hacksaw them
8 @ #8 half-inch machine bolts that came with nuts (nuts you really won't use in the bag)
11 @ #8 acorn nuts
22 @ #8 washers
1 @ teeny bungee cords
2 @ keychain carabiners tough enough to hold the bag and small enough to go through the #8 eyebolts (it was dumb to get them at the hardware store; I found them at the Dollar Store much cheaper)
This stuff totalled $11.51
I went to the Dollar Store and got:
2 @ small (but not teeny) dog collars
So, $2 plus tax.
I think for two bags, getting a couple more little bags of hardware it would come to about $15 a bag.

I happen to have:
a hacksaw
a pair of pliers
a screwdriver
a sharpie
duck tape
a nail
and a way to make holes, but you may have to add those in.
This all covered one bag and went a little way toward the second. The first bag I made was a lot of trial and error. The second one I made took about an hour, so learn from me, Grasshopper, and plan on that.

Cut the coroplast sign to the right width. I just folded the length into a U shape that would stabilize the back as much as possible, then the bottom, then a bit toward the front.

When I was done, I really liked the shape of it, and refined it by taking about an inch off the top. It will all depend on the size of your bag and how you like it to look.

I had to make holes for the bolts and the eyebolts. You can do this a number of ways. I have a screwgun so I just took a drywall screw and used it as a drill. You could also, of course, use an actual drill. Or you can use the hot nail technique that I describe later, but if you do, full disclaimer, it's dangerous, you could burn yourself or your home, so handle with care and don't be stupid, and I refuse to be sued, because I just said "don't be stupid."


Go ahead and make the two bolt holes at the back of the bag (I measured about two inches from either side and about an inch from the bottom and install the bolts like this: bolt, washer, bag, coroplast, washer, acorn nut. Hold the nut inside the bag with the pliers and screw the bolt in.
Eyeball where the bottom latches should go. I put mine two inches from the sides and a little over four from the bottom.

Too many bolts. For the second bag I just used the ones on the latch
Cut the dog collars. I cut the webbing in such a way that the little D ring wouldn't clang against the bolt. This came out to be nearly 3 inches from the top of the latch, but this is not an exact science. Drill holes through the bag and the coroplast.
Seal all the cut edges of the webbing, and make a hole. If you cannot handle fire safely, use nail polish to seal the webbing and use a drill for the hole, being very careful of your hands and using a piece of scrap wood for the drill.
If you're comfortable handling flame, light a candle, (in the sink if you're worried) and gently put the cut edge of the webbing near the flame until it melts a little and seals. Now take the nail and hold it with the pliers. Heat the nail for a while. Very carefully, poke the hot nail through the webbing for a hole. It should melt its way right through. Pay attention. Do not burn yourself. Do not set fire to your hair or clothing, or the dog collar. There's no way I can protect you from the world, so you're on your own.


Poke a hole through with the hot nail. It looks like I have three hands, but it's just a weird angle.

I taped it shut to see how it looked

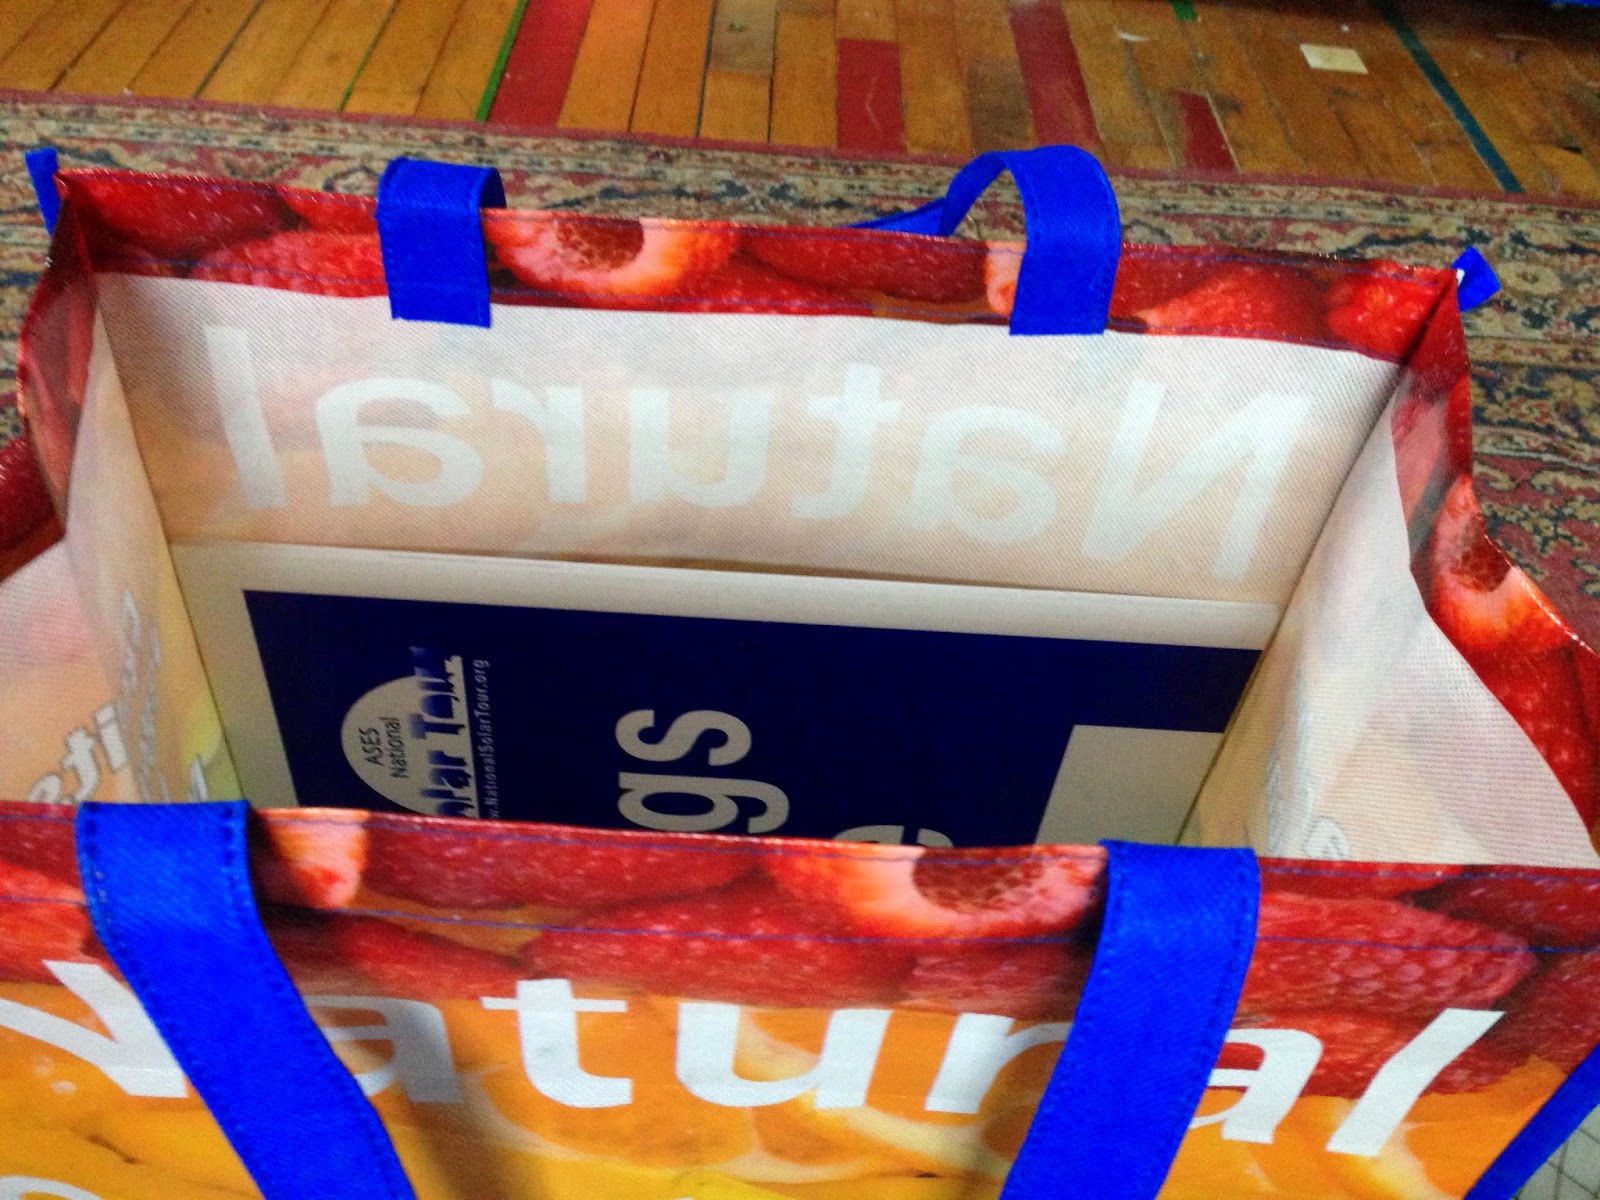
Here's the bag open
Most of my photos are of the first bag, where I made too many holes. In fact, I made the entire bag, then installed it, then rode my bike and realized I was kicking it all over the place when I pedaled. I had to undo a bunch of bolts and rework the positioning of the carabiners. If you want to learn from my mistakes, you need to latch the bag, pretend to be hanging it on the bike using duck tape, and work the pedals with your actual foot. Or, failing the kinetic version, do a bit of measuring and math. If you are kicking the bag, you'll need to figure out a better position (further back and/or higher) on the rack. Once the position is right, hold a carabiner up and mark the bag at the bottom and top of each carabiner.

In the bag, drill one hole near the center bottom of the carabiner position and two about a quarter-inch apart from the center near the top, so it is like a little triangle. The bottom one will have an eyehook with the carabiner, and the top two will have a ziptie threaded through to stabilize the top of the carabiner. If you like, use some of the leftover coroplast behind the zipties to strengthen it.

Sorry, the water bottle is distracting, but I had it there for weight.

Put the carabiners through the eyebolt so that they open towards the rack and the little end is at the eyebolt. Ziptie to secure the top of the carabiners. Now the bag should clip nicely onto your rack.

Figure out where a bungee should go towards the bottom of the back to stabilize the bag so it doesn't rattle around back there. Mark, drill, install the third eyebolt. Pull the bungee cord out of the hook, clip the bungee cord, thread it through the eyehole, the hook and make a knot.

Install!

Wombat occupies all bags.


